FlipperZero - UART Bridge RPi4 to Flipper

This is a simple tutorial for UART bridge function on the Flipper Zero. I’m using RaspberryPi4, FlipperZero and a Macbook laptop for this tutorial.
Schema
The bridge is pretty simple, we connect UART pin from Raspberry Pi4 to Flipper Zero and get a shell using flipper tty from the laptop.

UART Concept
UART is a serial protocol, which means it transfers data between components one bit at a time.
To synchornize communications, the UART transmitter and receiver must agree on a specific baud rate ( the rate of bits transmitted per second)
Important concept :
RX: Receive, will get the dataTX: Transmit, will transfer the dataGND: GroundVCC: Voltage, not used here since powered by USB cable
The RX(10) pin from Rapsberry Pi must be connected to the TX(13) from FlipperZero.
The TX(8) pin from Raspberry Pi must be connected to the RX(14) from FlipperZero.
It can be confused at the first place put it make sense since the Transmiter must send the bits to the receiver.
Identify GND
- Power Off the device you want to test
- Turn your multimeter dial to continuity Test mode (sound wave icon)
- Place Black lead to any metalic part of the circuit/PCB (Direct conductive path to earth)
- Place Red lead on each of the UART port and wait for buzzer sound, if sound then its the GND pin from UART
Identify VCC
- Power the device you are testing
- Turn Multimeter dial to DC voltage mode and set it to 20V
- Place Black lead to any metalic part of the PCB
- Place Red on suspected UART pin until the voltage indicates
3.3Vor5V, this is the Vcc pin.
Identify TX
- Turn off the device
- Keep Multimeter on DC voltage of 20V
- Place Black lead on any metalic part of the PCB, like the GND testing part
- Place Red lead on supected Pin
- Power up the device and check the voltage value : If the voltage fluctuates for a few seconds and then stabilizes at the Vcc value (
3.3Vor5V) then it means this isTXpin.
💡 The variations appears because the device is Booting and send data to TX for debuging.
Identify RX
Well, this is most likely the last one.
- Like TX test
- You can identify it because it has the lowest voltage variation and lowest overall value of all the UART pins
Setup

Here is my setup in a single picture. Like in the schema, Raspberry RX,TX to Flipper TX,RX and Flipper connected with USB port on my laptop.
The Raspberry is also powered on the laptop just for the power.
Minicom
First you need to install minicom
# MacOs
brew install minicom
# Linux
apt install minicom
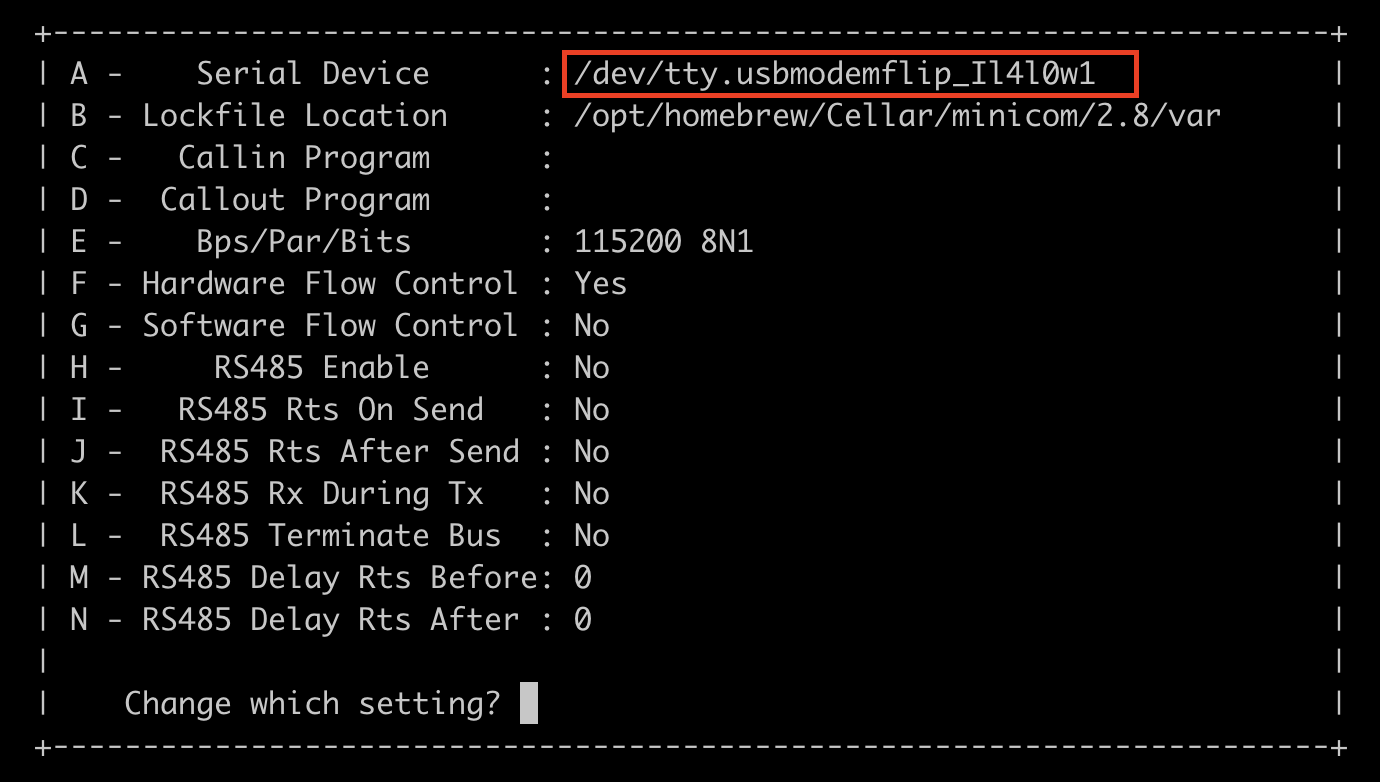
Once installed, change the default serial port `/dev/modem/ to your flipper.
minicom -s
Go to Serial Port Setup and then enter A.
Here I’m using the /dev/tty.usbmodemflip_Il4l0w1 port of my Flipper.

Now you can start minicom
minicom
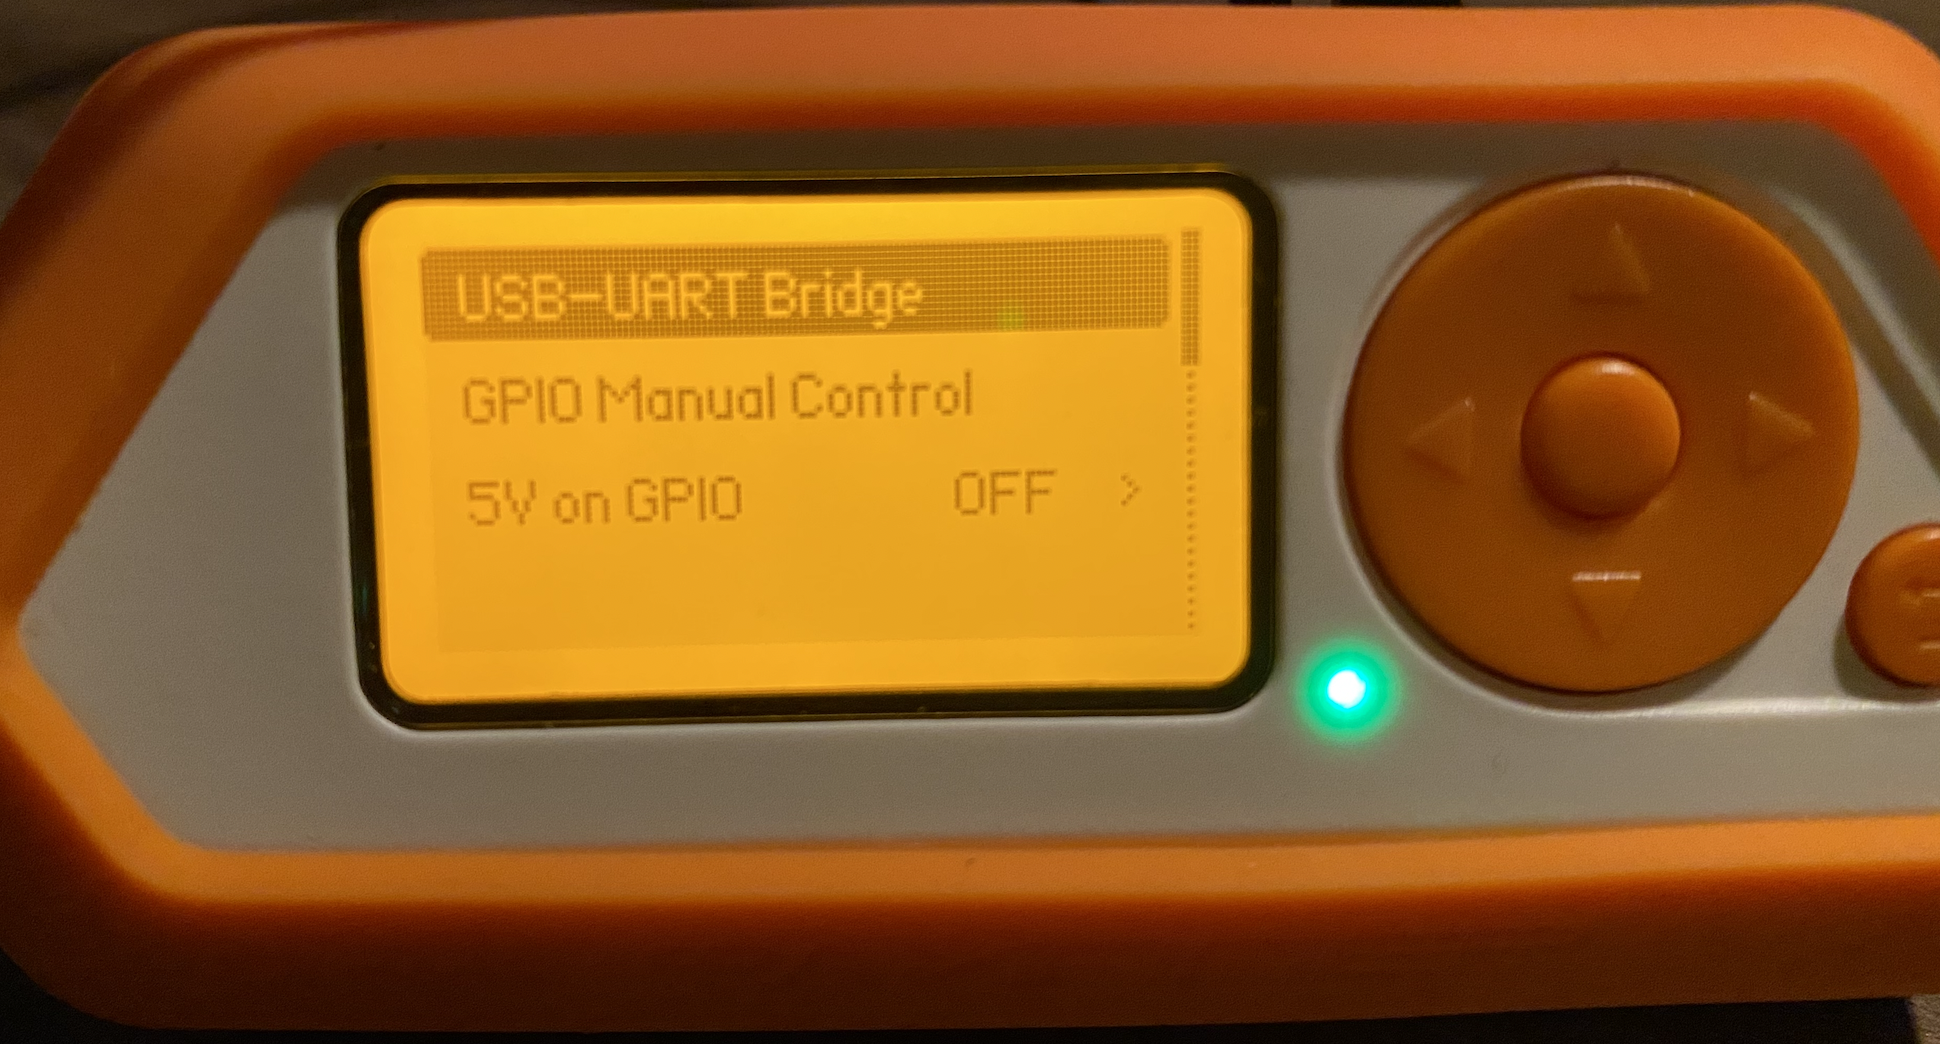
Once minicom is started, you just need to plug the UART pin to your Flipper then use the UART Bridge fonction on GPIO menu.

You can leave the default configuration, if the Baud is not set, just change it to 115200.
TO find the right Baud, you need to check the documentation or use the most common baud rates like 9600, 38400, 19200, 57600 and 115200.
Shell !
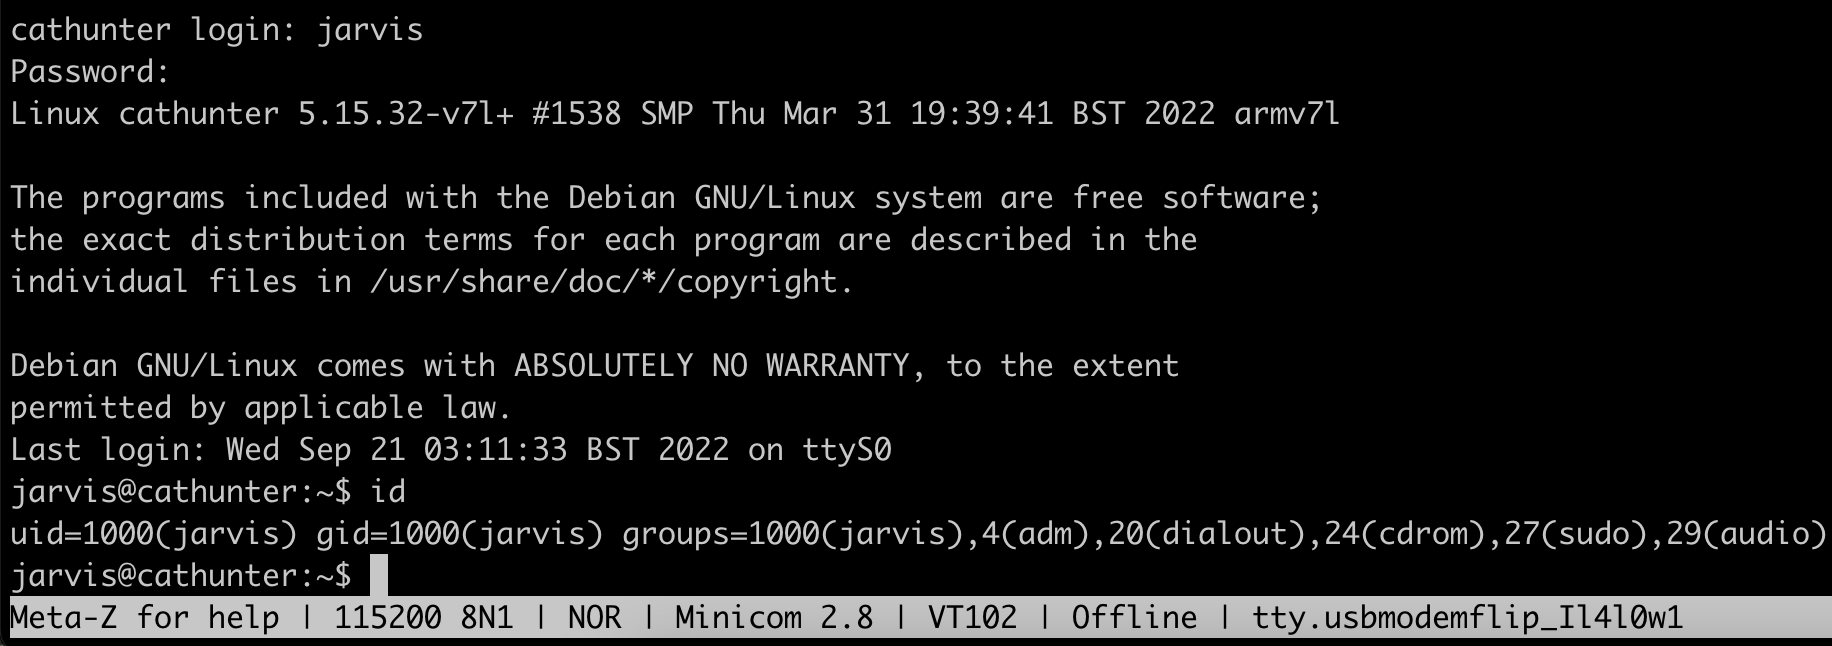
Once the UART Brige Application selected, you should see the login prompt from the raspberry pi.

You can now login to the Raspberry Pi and enjoy your shell !
