#1 GBA SP - Battery Change

Hello, everyone! I hope you're doing well?
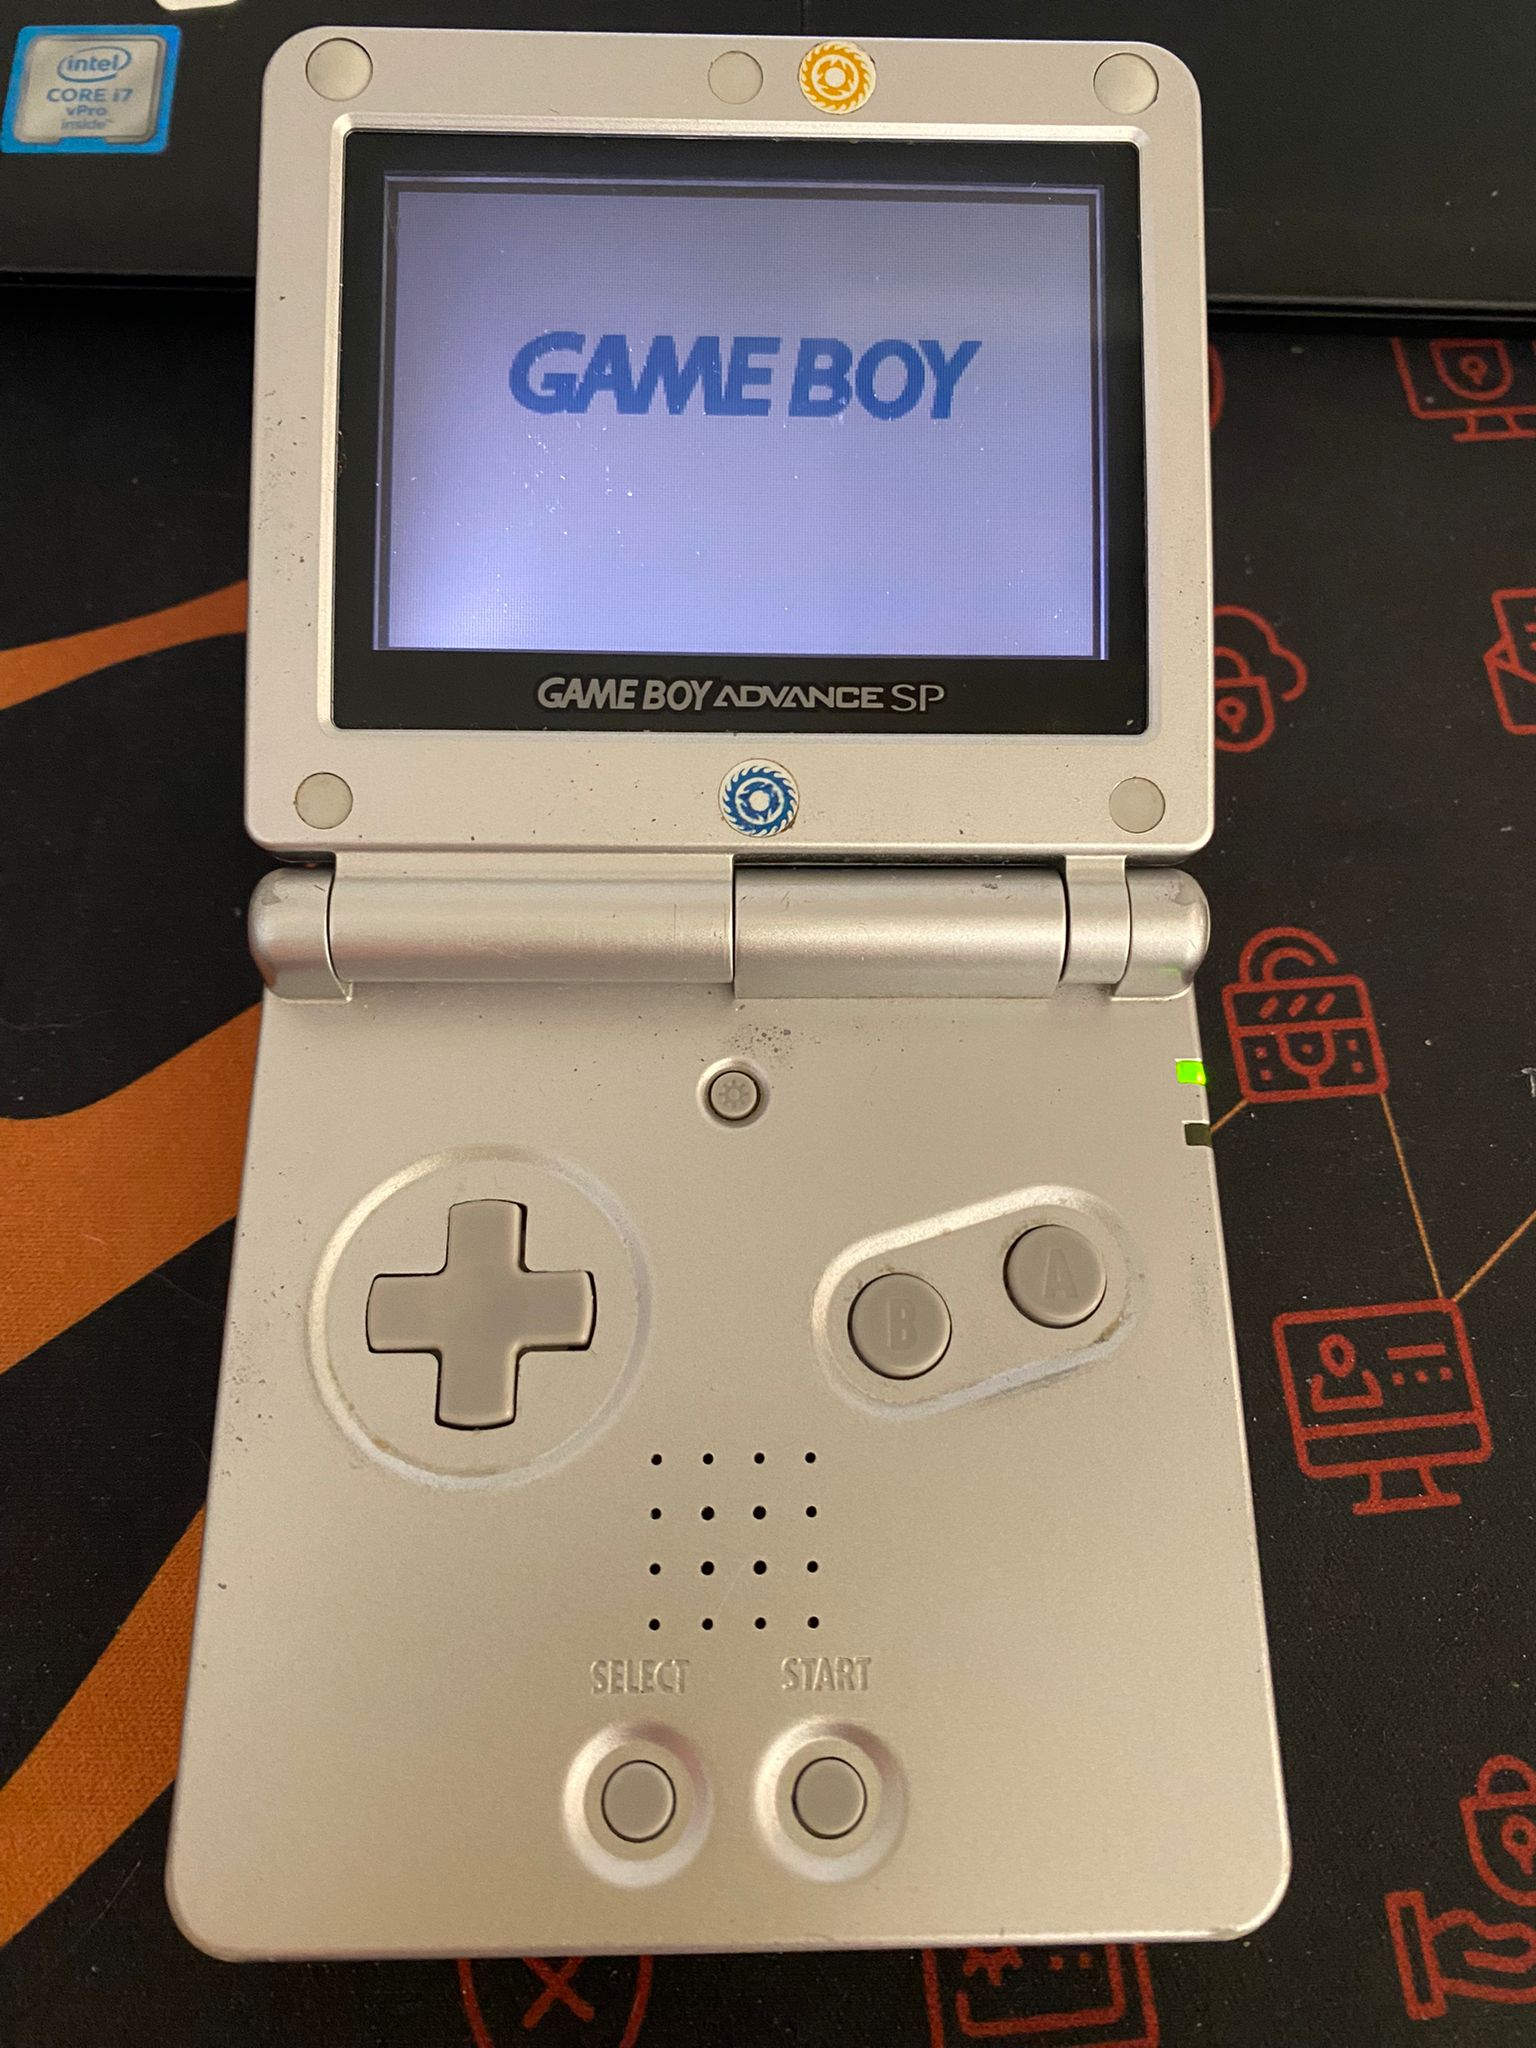
Today, I'm bringing you a series of articles that will gradually appear on my blog. These articles will revolve around the modification of my Gameboy Advance SP, which I recently rediscovered among my belongings! This little gem is now 20 years old and still works fairly well, with not too much damage.

Unfortunately, this beauty is showing some signs of wear and tear and isn't quite up to modern standards. That's why I'm planning to implement some modifications such as:
- A new battery
- New protective shells
- A new IPS screen
- USB-C connection for charging
- Sound amplification
🔋 New Battery
I'm kicking off this series of articles with something simple – the replacement of the original battery. After 20 years of use, I currently get about 2 hours of battery life, which is actually quite impressive. They don't make them like this anymore!

The new one is coming from Retro Modding , its a 900 mAh battery, here is the link if you are interested :
- https://www.retromodding.com/products/makho-game-boy-advance-sp-battery?variant=36494280982684
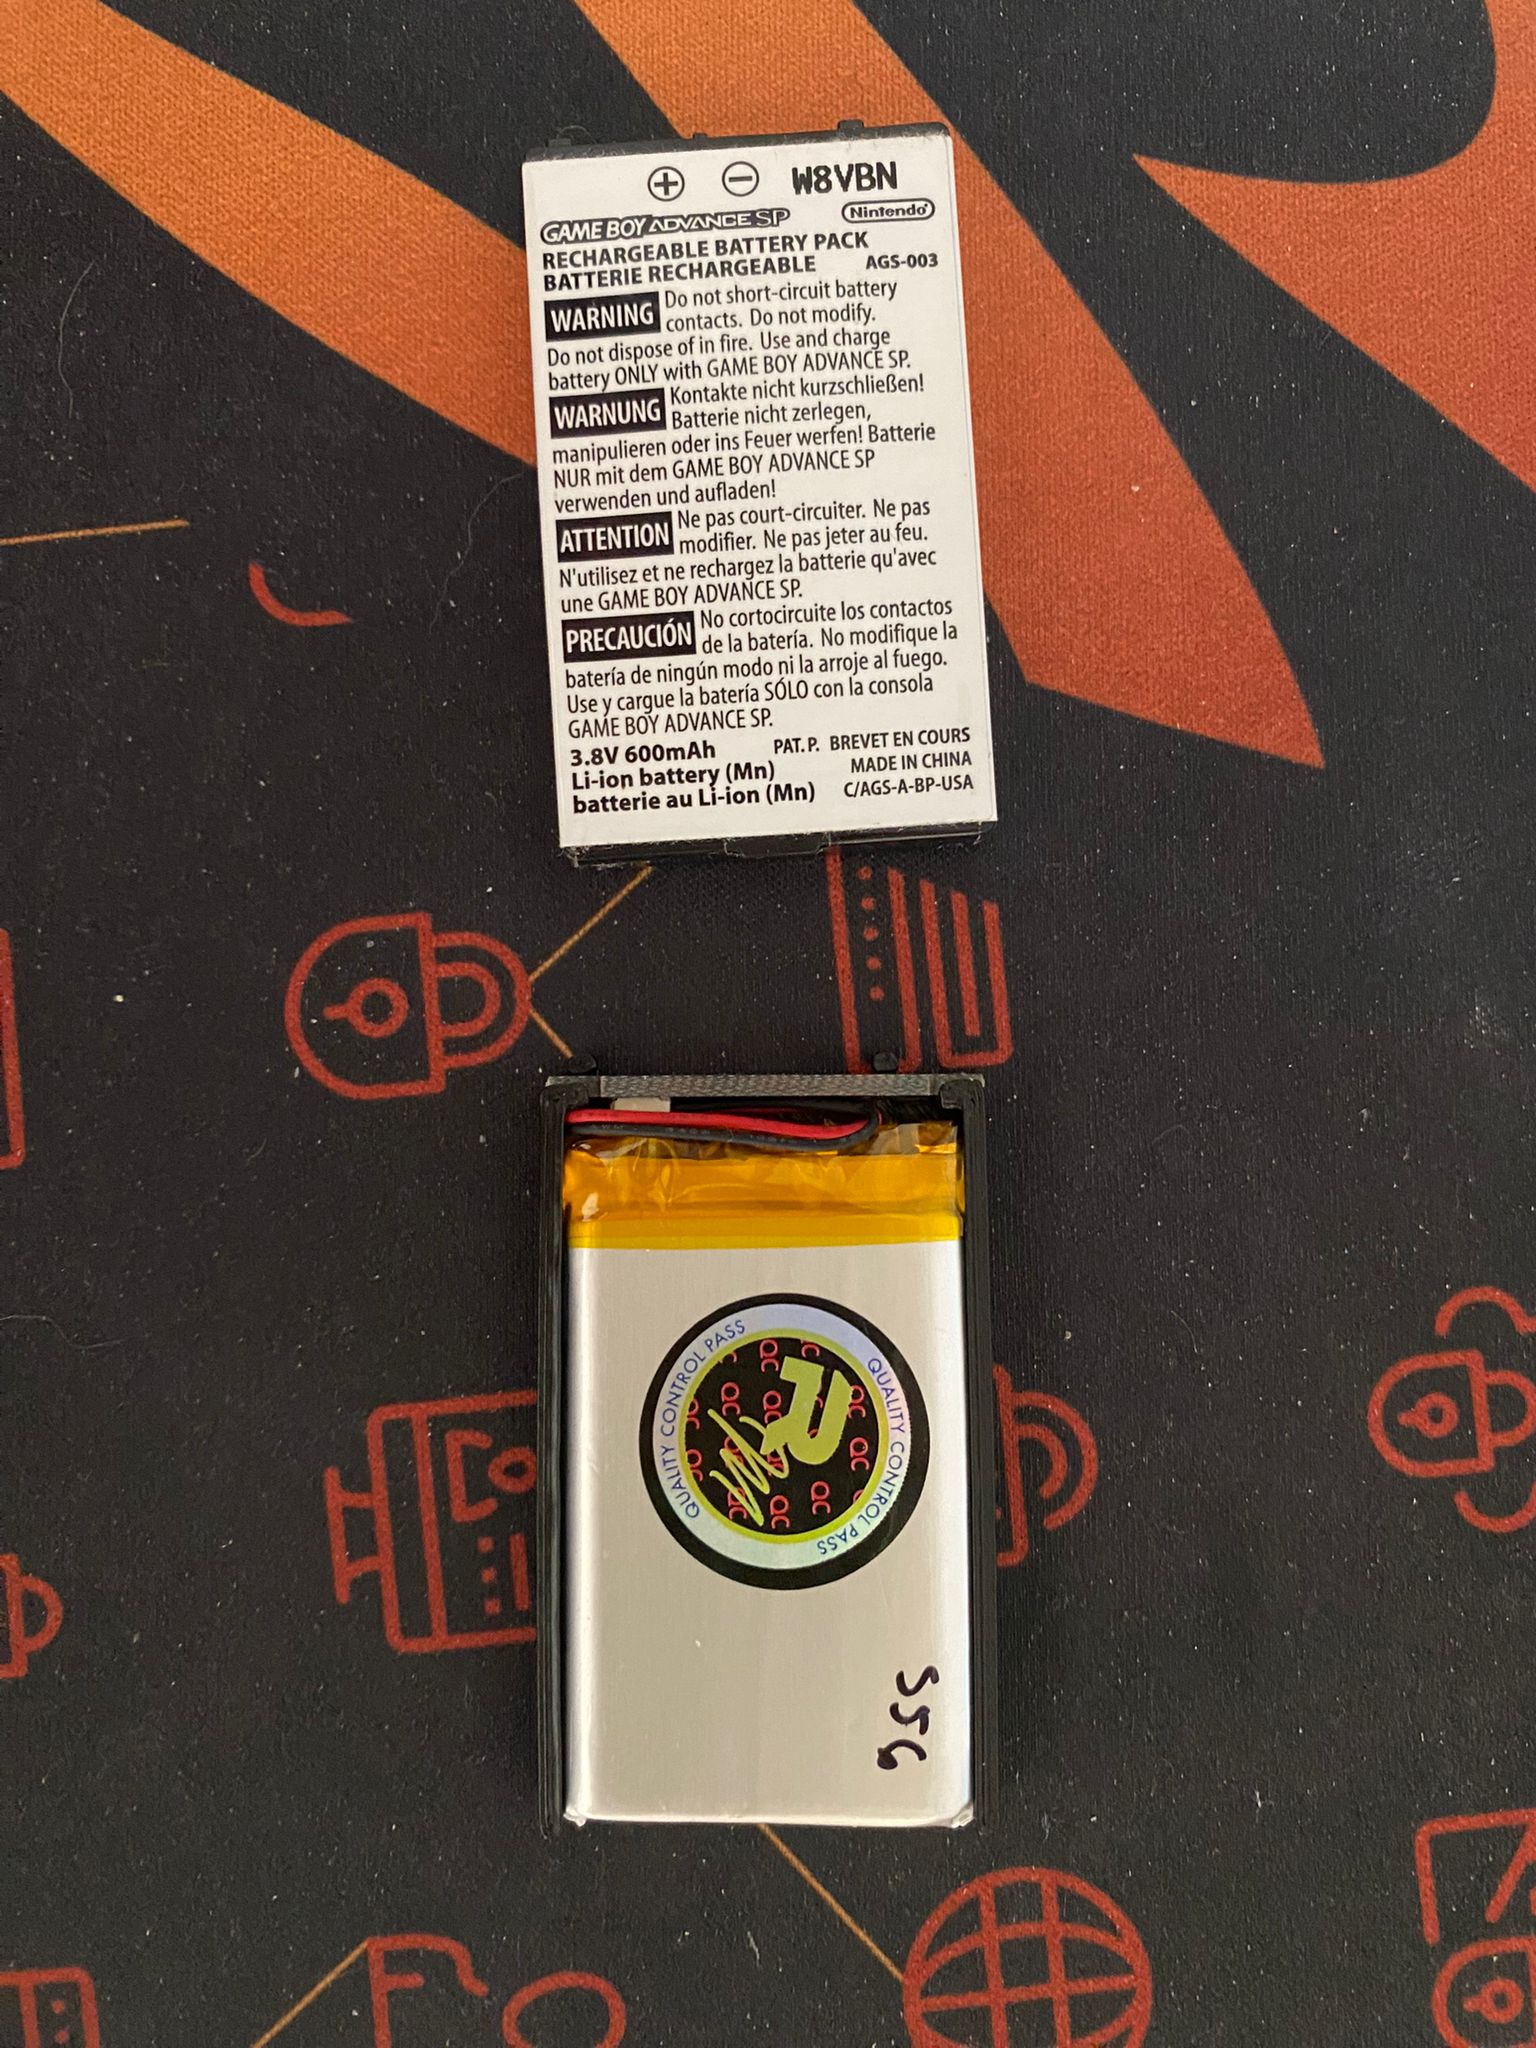
It's coming with a pretty nice 3D printed shell and a + - contact PCB, already soldered to the battery. You can compare it with the old one on the top.

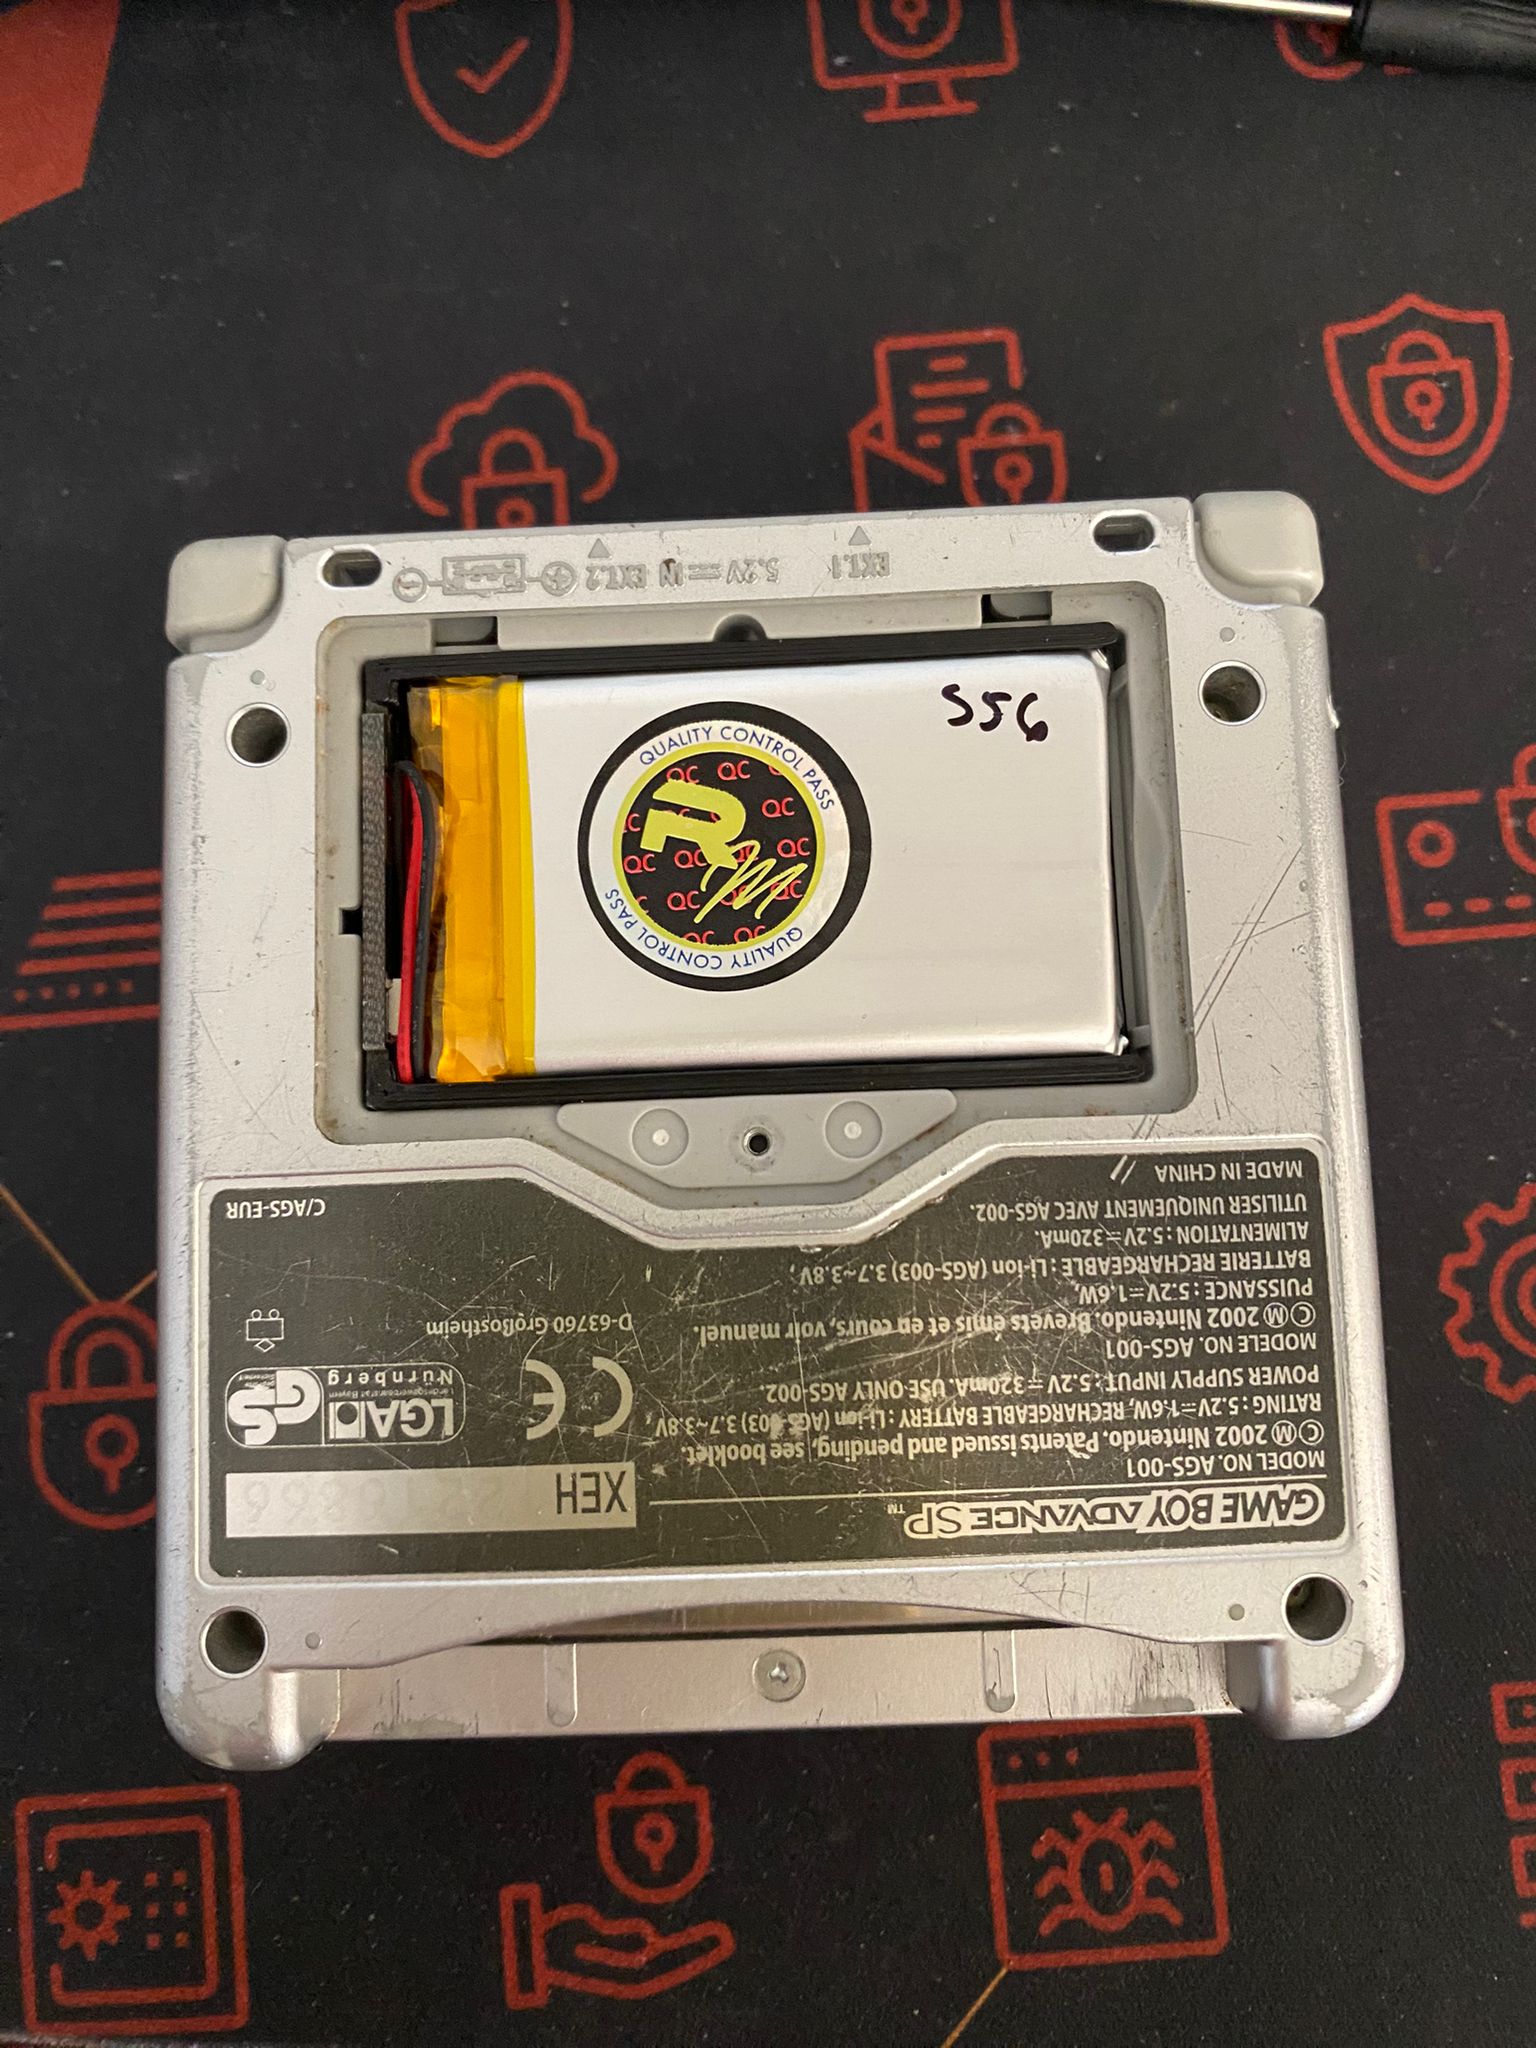
The battery itself fits perfectly within the GBA SP, and when it comes to the incoming parts like the Clear White Shell module, it's going to look fantastic! 🎮👌

The next step is to purchase a soldering iron, the IPS screen, and the protective shell. 🛠️